
Planting Window Boxes & How to Make Any of them Self-Watering
Building a container garden and aren't sure where to start? Watch our helpful video to learn how to plant window boxes before you begin. This quick how-to video will kick your container gardening project into gear.
Supplies Needed:
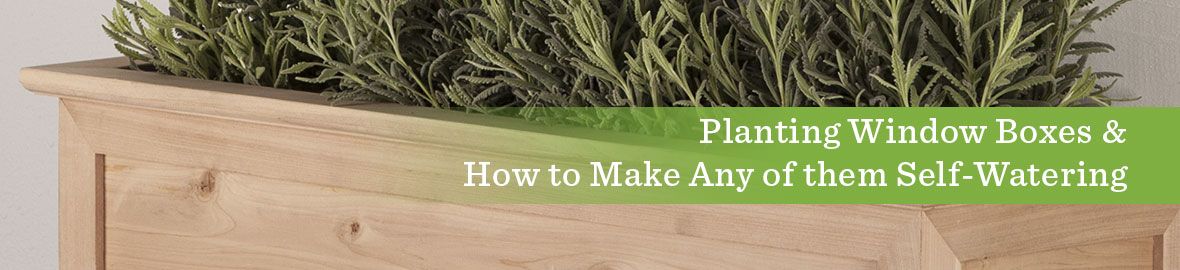
Window Box Planter
Filter Fabric (also known as weed barrier landscape fabric)
Small gravel
Light weight planting soil
Desired plants
Reservoir insert (optional)
How to Plant a Window Box (Without Accidentally Neglecting Your Plants)
Whether you’re a seasoned gardener or just starting out, planting a window box is a simple way to add charm and greenery to your home. Follow these step-by-step instructions to set your plants up for success—from drainage to design.
Step 1: Choose Your Window Box and Reservoir
Start with a window box that fits your space and aesthetic. To help reduce watering frequency and prevent over-drying, we recommend pairing your box with a compatible self-watering reservoir. (It doesn’t need to run the full length—each reservoir hydrates soil about 8–9 inches beyond its edge.)
Step 2: Add Filter Fabric
If your box has drainage holes (as most of ours do), place a layer of filter fabric on the bottom. This prevents potting mix from washing out while still allowing water to drain freely.
Step 3: Create Drainage with Gravel
Add a shallow layer of small gravel or drainage rock. This helps keep excess water away from plant roots, reducing the risk of root rot.
Step 4: Install the Reservoir
Set the reservoir in place and attach the fill tube. This tube should extend above the soil line—it’s how you’ll refill the reservoir without disturbing the plants.
Step 5: Add Potting Mix
Fill the box with a high-quality, lightweight potting mix. Spread it evenly over the reservoir. Don’t worry about the small holes in the reservoir lid—roots will find their way and draw water up through capillary action.
Step 6: Arrange and Plant
Choose plants suited to your lighting conditions—full sun, part shade, or shade—and arrange them using this classic design formula:
Spiller: Cascading plants that drape over the front (e.g., trailing ivy, sweet potato vine)
Filler: Medium-height, bushy plants that add volume (e.g., petunias, geraniums)
Thriller: Taller, statement plants that add vertical interest (e.g., ornamental grasses, salvia)
Step 7: Water Thoroughly
Water the soil well after planting. This helps eliminate air pockets and encourages the roots to settle into their new environment.
Step 8: Fill the Reservoir
Use the fill tube to fill the reservoir until full. This built-in feature helps maintain consistent soil moisture and reduces the need for daily watering.
Step 9: Enjoy and Maintain
Most window boxes with reservoirs need refilling every 1–2 weeks, depending on your local climate. Monitor soil moisture during especially hot or dry periods.
Have questions about window boxes?
Call: 800-896-0978
7am - 5pm PST, M-F